
Tutorial: Create workflow extension
Goal
The example below will create a simple custom workflow activity that may be used in a workflow, dialog, or action process. More information: Configure workflow stages and steps
This custom workflow activity will match the following requirements:
- Accept an decimal input parameter
- Output a value equal to the input parameter plus 10.
Create a Visual Studio Class Library project
This project will create a simple workflow assembly that will increment an decimal value by 10.
Start Visual Studio.
On the File menu, click New, and then click Project.
Search for Class library and select Class Library (.NET Framework).
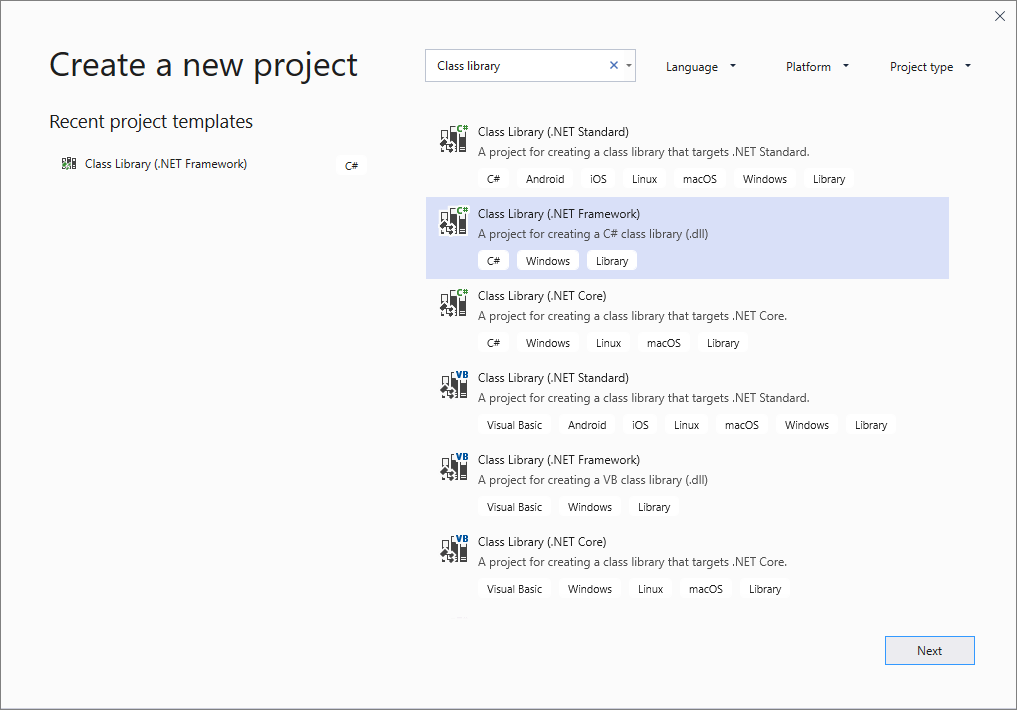
Click Next.
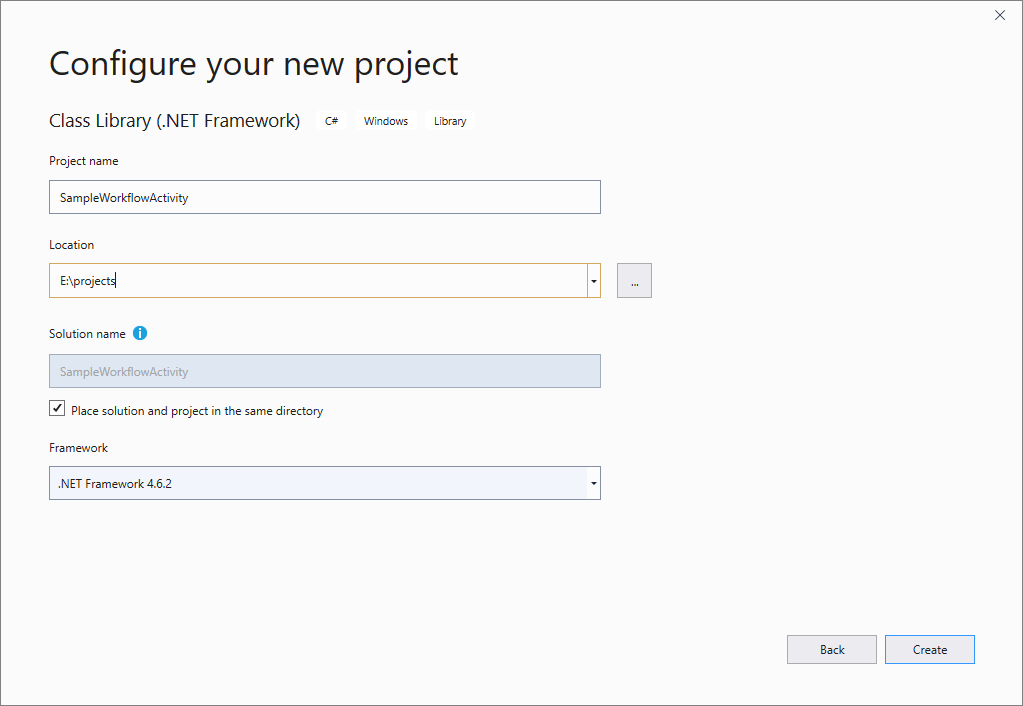
Specify a name and location for the solution.
Note
Choose a Project name that makes sense for your project. In this example we will use
SampleWorkflowActivity.Click Create.
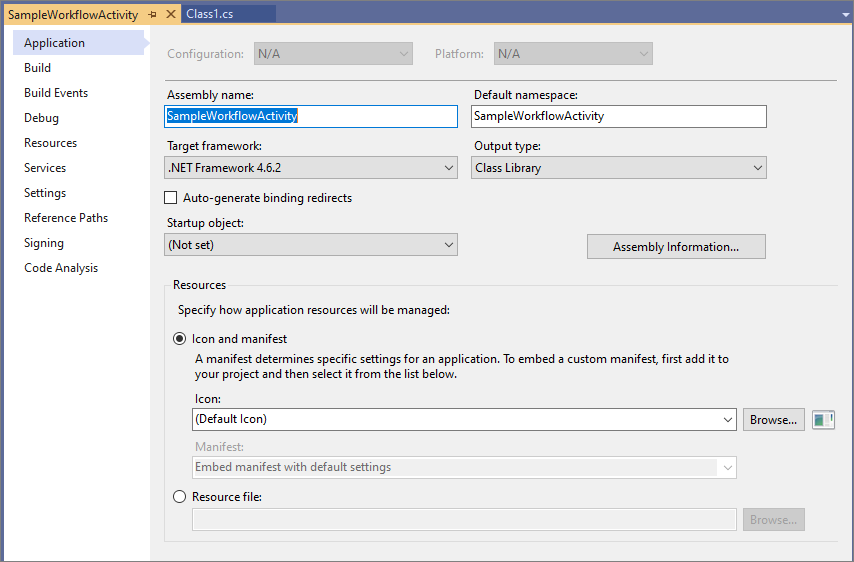
In the Solution Explorer, right-click on the project select Properties. On the Application tab, verify that .NET Framework 4.6.2 is set as the target framework.
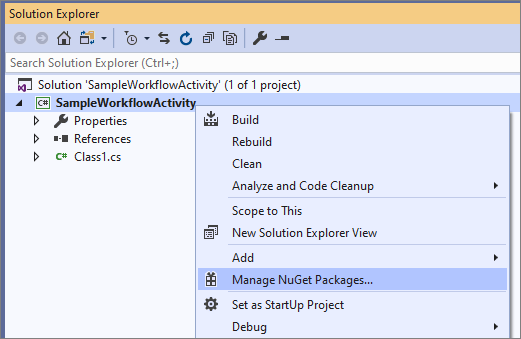
In the Solution Explorer, right-click the project and select Manage NuGet Packages… .
Browse for the Microsoft.CrmSdk.Workflow NuGet package and install it.
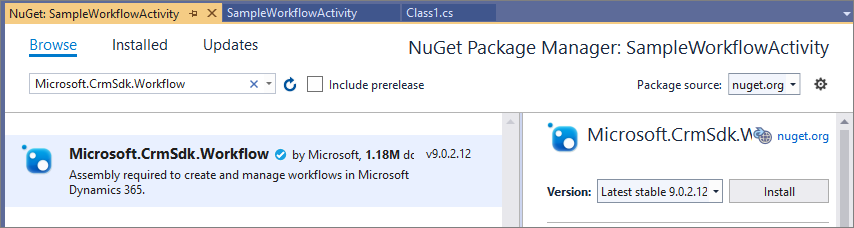
Note
Make sure that the package you are installing is owned by crmsdk. This package will include the
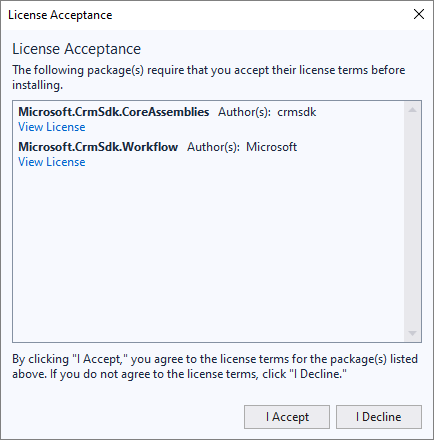
Microsoft.Xrm.Workflow.dllinclude a dependency on the Microsoft.CrmSdk.CoreAssemblies package so that the requiredMicrosoft.Xrm.Sdk.dllassembly is included as well.You must click I Accept in the License Acceptance dialog.
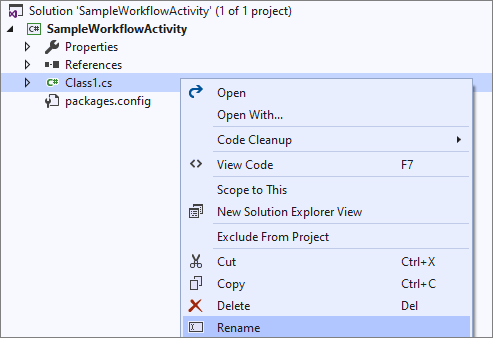
Rename the class file
In Solution Explorer, right-click the default Class1.cs file and and select Rename.
Note
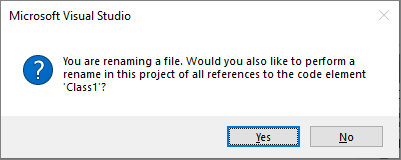
Choose a class name that makes sense for your activity. In this example, we will name the class
IncrementByTen.Select Yes in the dialog box that asks if you would like to rename the class as well.
Open the IncrementByTen.cs file, and add the following using directives:
C#using System.Activities; using Microsoft.Xrm.Sdk; using Microsoft.Xrm.Sdk.Workflow;Make the class inherit from the CodeActivity class and give it a public access modifier as shown here:
C#public class IncrementByTen: CodeActivity { }Add the Execute method from the
CodeActivityclass using Visual Studio Quick actions or manually: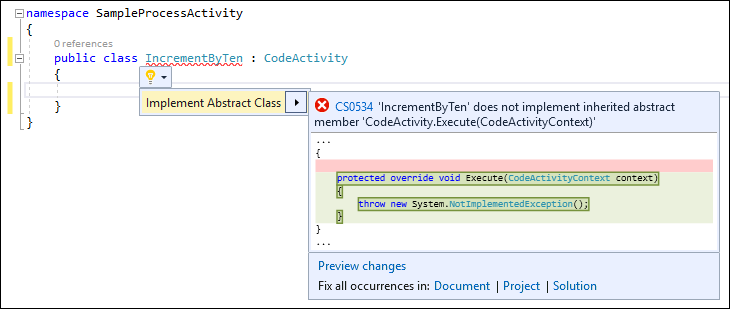
The class now looks like this:
C#public class IncrementByTen : CodeActivity { protected override void Execute(CodeActivityContext context) { throw new NotImplementedException(); } }
Define input and output parameters
Add a set of input and output parameters where the value of the output parameter will be the value of the input parameter incremented by 10.
C#public class IncrementByTen : CodeActivity { [RequiredArgument] [Input("Decimal input")] public InArgument<decimal> DecInput { get; set; } [Output("Decimal output")] public OutArgument<decimal> DecOutput { get; set; } protected override void Execute(CodeActivityContext context) { } }Note
Notice how .NET Attributes are used to provide metadata about the parameters in the assembly. More information: Add parameters
Add your business logic
Add the logic within the Execute method to apply the logic to increment the input value by 10.
    protected override void Execute(CodeActivityContext context)
    {
      decimal input = DecInput.Get(context);
      DecOutput.Set(context, input + 10);
    }
Sign and build the assembly
Custom workflow activity (and plug-in) assemblies must be signed. In the project properties, under the Signing tab, select Sign the assembly. Below Choose a strong name key file, select the <New...> option. You do not need to set a password for the purpose of this tutorial. For this example we created a new strong name key file named
SampleWorkflowActivity.snk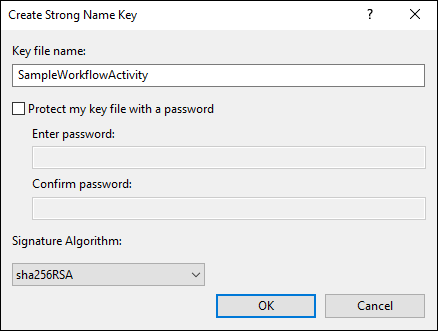
Build the solution in Debug mode and verify that the
SampleWorkflowActivity.dllassembly is in the/bin/Debugfolder.
Note
While developing an assembly it is fine to use the Debug build configuration. When you deploy your assembly to a production server or in a solution, you should use the Release build configuration.
Register your assembly
Custom workflow activity assemblies are registered using the Plug-in Registration tool. The tool provides a graphical user interface and supports registering assemblies that contain plug-ins or custom workflow activities. To get the Plug-in Registration tool see: Download tools from NuGet
Connect using the Plug-in Registration tool
After you have downloaded the Plug-in registration tool, click the
PluginRegistration.exeto open it.Click Create new Connection to connect to your instance.
Make sure Office 365 is selected.
If you are connecting using a Microsoft account other than one you are currently using, click Show Advanced and enter your credentials. Otherwise, leave Sign-in as current user selected.
If your Microsoft Account provides access to multiple environments, select Display list of available organizations.
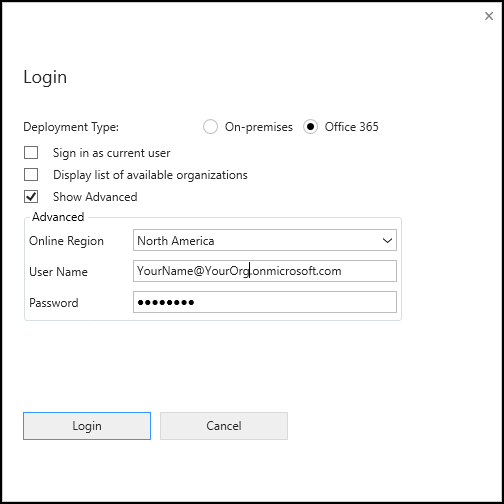
Click Login.
If you selected Display list of available organizations, select the organization you would like to connect to and click Login.
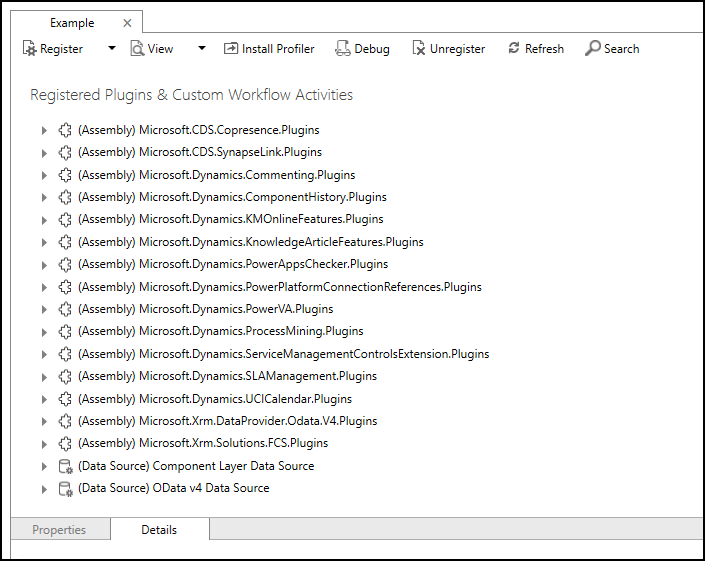
After you are connected, you will see any existing registered plug-ins, custom workflow activities and data providers.
Register your assembly
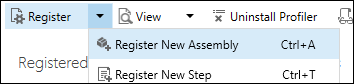
Select Register > Register New Assembly
In the Register New Assembly dialog, click the ellipses button (…) and navigate to the
SampleWorkflowActivity.dllin the/bin/Debugfolder.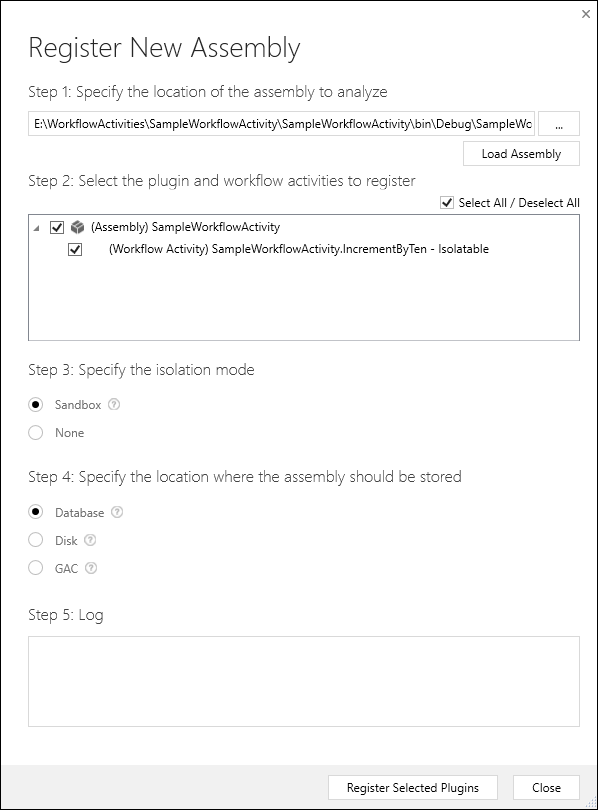
Note
Note: With Dataverse the only valid options for Steps 3 & 4 are selected and invalid options are disabled.
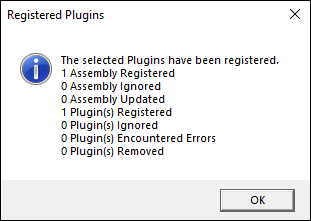
Click Register Selected Plugins. You should see a confirmation dialog.
Click OK to close the Register New Assembly dialog.
Configure activity names
In the list of Registered Plugins and Custom Workflow Activities locate the (Assembly) SampleWorkflowActivity and expand it to show the (Workflow Activity) SampleWorkflow.Activity.IncrementByTen - Isolatable.
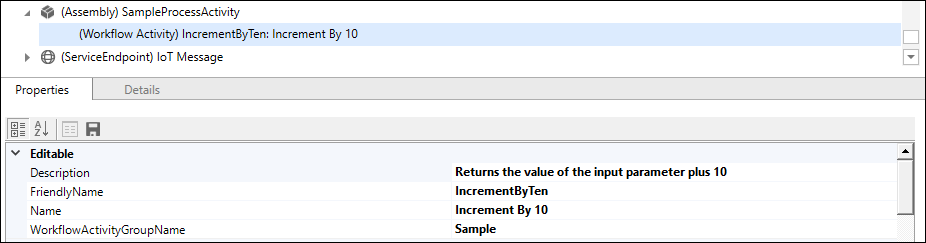
Select the (Workflow Activity) SampleWorkflow.Activity.IncrementByTen - Isolatable and in the Properties area edit the Editable properties using the values in the following table:
Editable Field Original Value New Value Description Description Returns the value of the input parameter plus 10. Not visible in the UI of the process designer, but may be useful when generating documentation from data drawn from the PluginType Entity that stores this information. FriendlyName a GUID value IncrementByTen User friendly name for the plug-in. Name SampleWorkflowActivity.IncrementByTen Increment By 10 The name of the menu represented WorkflowActivityGroupName SampleWorkflowActivity (1.0.0.0) Sample The name of the submenu added to the main menu in the Dataverse process designer. Note
If the Name and WorkflowActivityGroupName are set to null, the custom activity will not be visible in the process designer.
Click the Save (icon) to save the changes.
Test your assembly
You can test your new workflow activity by creating a process that will use it. Use these steps to create the Workflow process described in the Goal section above:
Open Power Apps
Select Solutions.
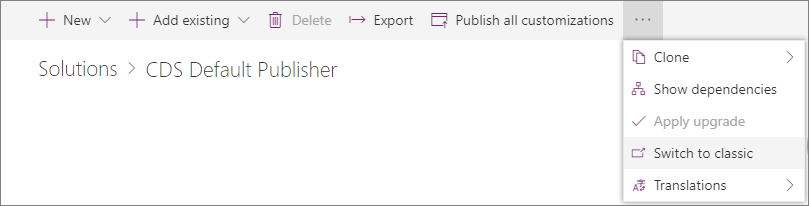
Open the CDS Default Publisher solution.
In the menu, expand the ... and choose Switch to classic.
Select Processes in the Components list
Select New and in the Create Process dialog enter the following:
Field Value Process name Test of SampleWorkflowActivity.IncrementByTen Category Workflow Entity Account Run this workflow in the background (recommended) deselected Note
The option to Run this workflow in the background has been de-selected to make this a real-time (synchronous) workflow. This will make testing simpler.
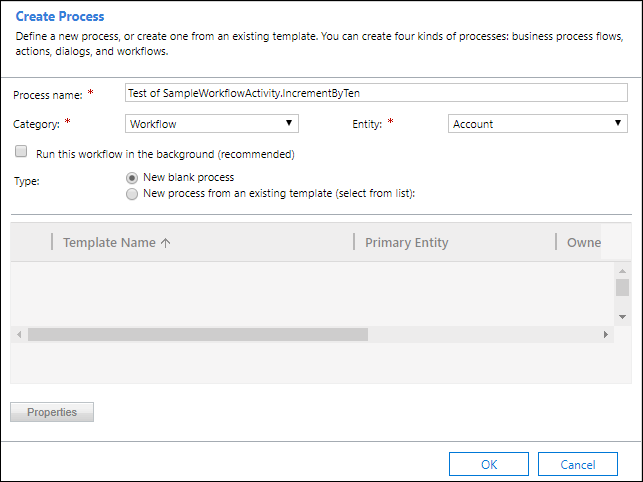
Click OK
Apply the following changes:
Field Value Scope Organization Start when: Record fields change selected, and namefield specified in the dialog.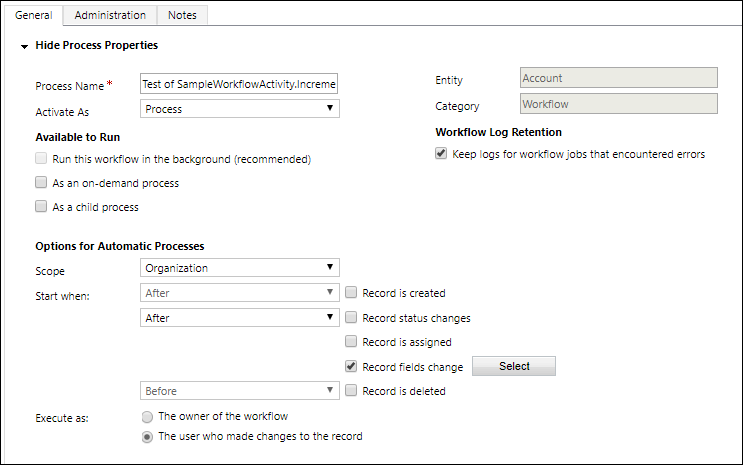
Note
Setting Scope to Organization creates a workflow that can be applied by anyone in the organization.
Add the following Step:

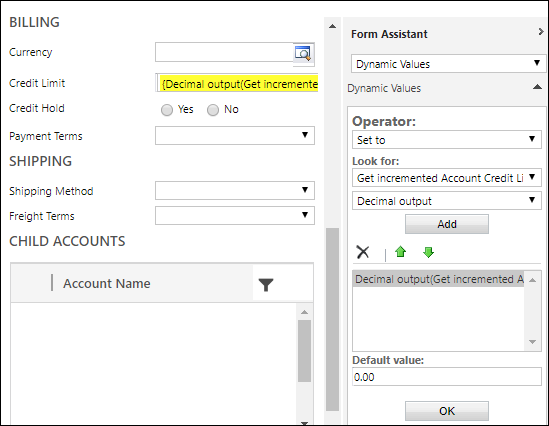
Set the Step Description to Get incremented Account Credit Limit and click Set properties.
Set the value of the Decimal input property to the Credit Limit of the account with a default value of 0.
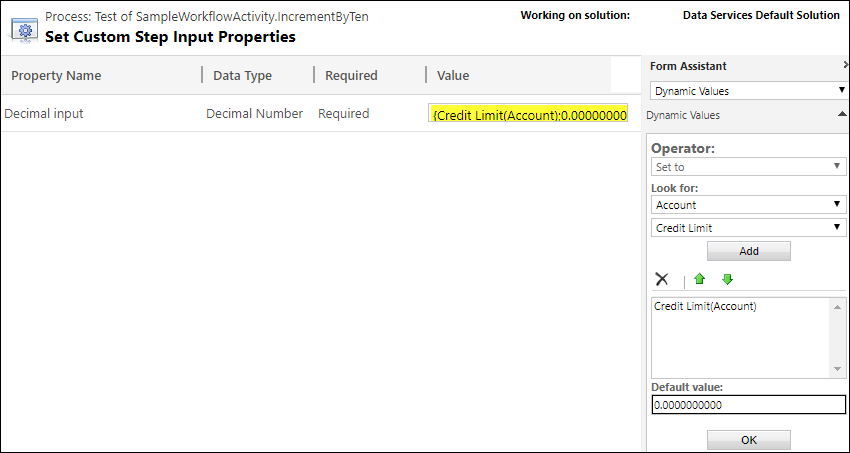
Click Save and Close.
Add an Update Record step:

Click Set Properties and set the value of the Credit Limit to the value of the Get incremented Account Credit Limit step.
The workflow steps should look like this:
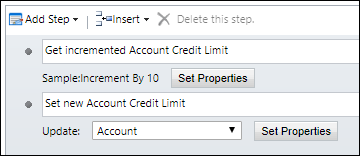
Click Save and Close.
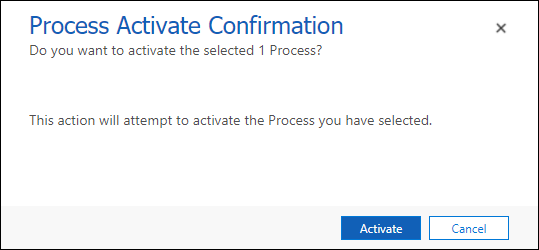
Activate the workflow by clicking Activate in the menu...

And click Activate in the Process Activate Confirmation dialog.
Navigate to a model-driven app and view a list of acccounts.
Select an account.
Edit the Account Name field value.
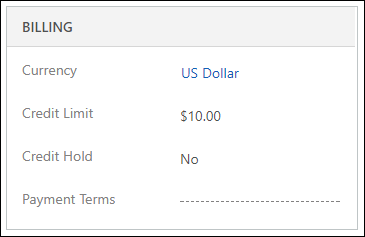
Save the account record.
Verify that the account you edited has Credit Limit value has increased by 10.
Add your assembly to a solution
To distribute a custom workflow activity in a solution, you must add the registered assembly that contains it to an unmanaged solution.
Open the unmanaged solution you want to add the assembly to using Power Apps
Select Add existing > Other > Plugin assembly
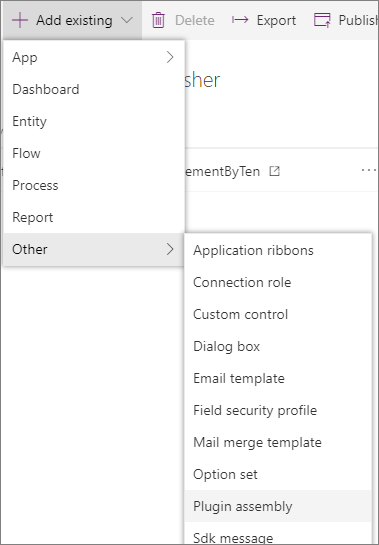
Search for the Plugin assembly by name, in this case 'SampleWorkflowActivity'.
Select the plugin assembly and select Add.
No comments:
Post a Comment