
Creating Power BI Date Filter
In this section, you will go through the steps to create a relative data range filter to add to your report pages or your entire report. The following steps to add Power BI Date Filter are listed below.
Step 1: Create a Date Range Filter
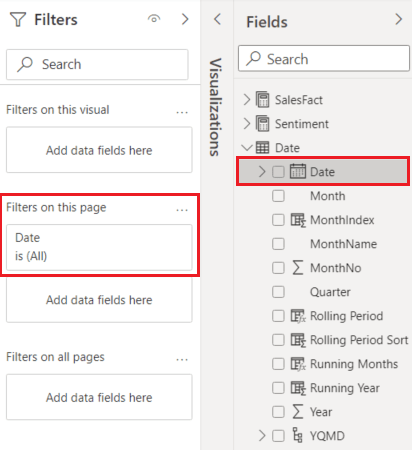
- Open your report in Power BI and from the “Fields” pane, select the “Date” field.
- Now, drag it to the “Filter on this page” field or “Filters on all pages” from the “Filters” option.
- You can also change the relative data range options, similarly, you can customize in Power BI Date Slicer.
Step 2: Configuring Date Range Filter
- For this, select the “Relative date” option from the “Filter-Type” drop-down menu.

- After selecting the “Relative Date” option. It will provide you with the 3 options under the “Show items when the value” section for configuring Power BI Date Filter.

- These are similar options to what you configured while creating Power BI Data Slicer.
- Now, here in the middle field of Power BI Date Filter, you can choose a number to define the relative data range.
- Next, click on the “Apply filter” option
No comments:
Post a Comment